
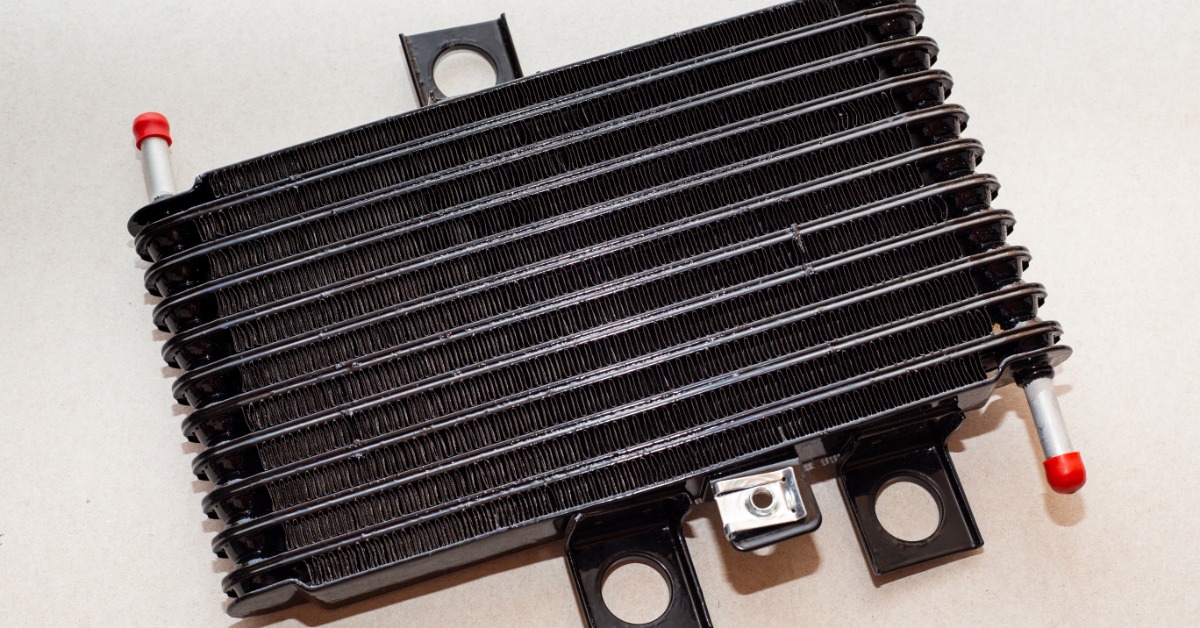
Adding an auxiliary transmission cooler can give your transmission more protection when driving in hot weather. However, because the installation can affect aspects such as fluid flow and long-term reliability, it is important to follow the correct procedures. You will be able to complete this project more confidently after reviewing these transmission cooler installation basics and tips.
Confirm Your Cooler Matches Your Vehicle
Start this process off right by choosing a cooler that fits your vehicle, transmission, and expected driving conditions. A daily-driven car may need less cooling capacity than a truck that pulls a trailer or carries heavy loads, so consider how much heat your transmission is likely to produce. You should also account for available mounting space because an oversized cooler can complicate the installation process and interfere with nearby components.
Mount the Cooler Where Air Can Reach It
Your cooler needs access to moving air, so place it where the fins can release heat without obstruction. Many installers position auxiliary coolers in front of the radiator or air-conditioning condenser, although the best location depends on the vehicle’s layout and the space behind the grille. Leave enough clearance to prevent contact with nearby parts, and use secure brackets that support the cooler without crushing its fins.
Plan the Fluid Path Before Connecting Lines
Before disconnecting anything, identify which transmission line carries hot fluid away from the transmission and which line returns cooled fluid. For many street vehicles, routing the auxiliary cooler in series with the factory radiator cooler adds cooling capacity while retaining the factory heat exchanger.
However, you should confirm the recommended arrangement for your transmission. Marking the lines before removal can help you avoid connecting the cooler in a way that limits its performance.
Use Transmission-Rated Hoses and Fittings
Every hose, clamp, adapter, and fitting should withstand automatic transmission fluid and heat. A general-purpose rubber hose may soften or crack over time, while weak clamps can loosen and allow fluid to escape after repeated heat cycles. Choose components intended for transmission cooler systems, tighten threaded fittings with care, and avoid applying enough force to damage ports or distort the hose.
Check the Fluid Level and Test Your Work
One last transmission cooler installation tip is to add enough fluid to account for the cooler and the longer lines. Start the engine, move the selector through each gear, and inspect every connection while fluid circulates through the system.
You should then check the level according to the manufacturer’s procedure. Afterward, you can go for a road test while watching for unusual shifting. You should also inspect the cooler again after the vehicle cools because minor seepage may become easier to notice.
A thoughtful installation can help your transmission handle additional heat without creating new problems elsewhere in the system. Following these tips will give the upgrade a stronger foundation for dependable service.
You can also enhance the effectiveness of your work by purchasing high-quality automatic transmission coolers from Transparts Warehouse. Reach out to us today for assistance with your next repair, replacement, or performance project.


